

Chickens naturally respond to daylight hours, which directly affects their egg-laying patterns. When daylight drops dramatically in winter, egg production typically decreases or may stop entirely. This biological response helps chickens conserve energy during winter months when resources are traditionally scarcer in nature.
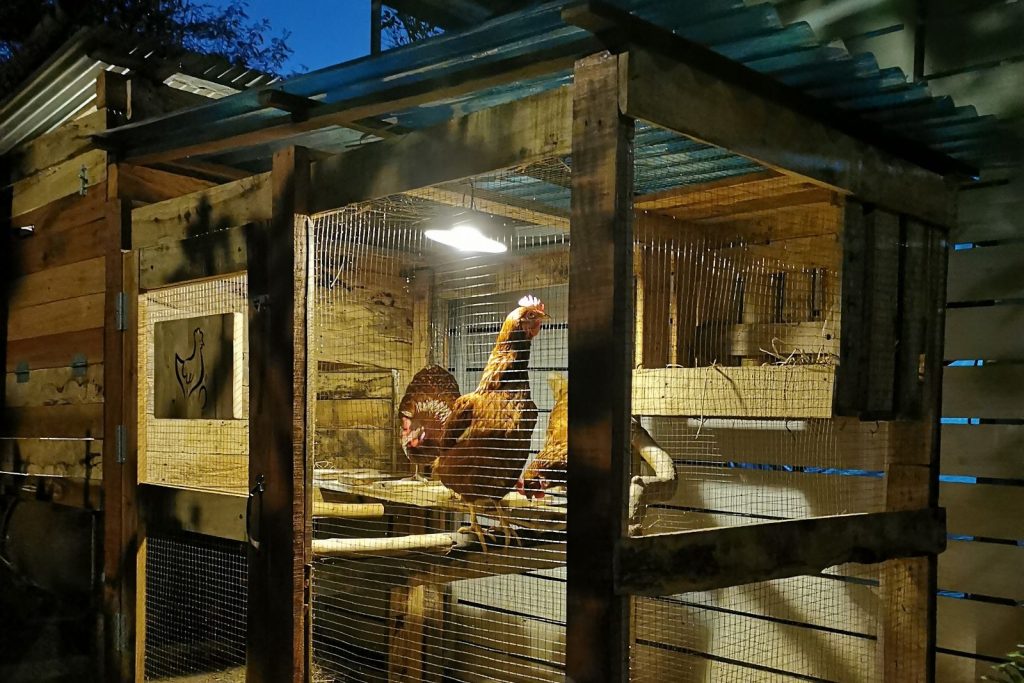
Replacing natural daylight with artificial light can trick your chickens into ignoring the fact that it’s winter out there – and keep them laying fresh eggs every day.
Benefits of Adding Artificial Light
The most notable advantage of supplemental lighting is maintaining steady egg production throughout winter. With proper lighting, hens can continue laying at nearly the same rate as during summer months.
A well-lit coop also helps chickens move around safely between their roosts and nesting boxes during darker hours. This can be particularly helpful during early winter mornings or late afternoons when natural light is limited.
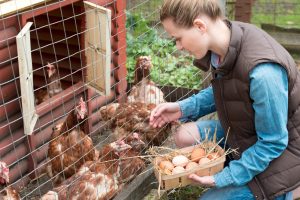
Additional lighting also makes it easier to check on your flock, clean the coop, and spot any potential health issues during darker months.
Potential Drawbacks to Consider
Artificial lighting interrupts chickens’ natural winter break from laying. This rest period allows hens to rebuild their calcium reserves and generally recuperate from the demanding process of egg production. Adding artificial lighting can impact this natural rest cycle.
As you might expect, running lights through winter months will increase your electricity usage. While LED bulbs can help minimize this cost, it’s still an ongoing expense to factor into chicken-keeping calculations.
Last but not least, setting up a safe, weather-resistant lighting system requires careful planning and regular maintenance. All electrical components must be properly protected from moisture, dust, and curious pecking. Cheap and careless setups or lack of proper maintenance can cause your chicken coop to catch fire.
Making Smart Lighting Choices
If deciding to add artificial light, here’s how to do it effectively and safely:
Light Type and Placement
- Choose 9-14 watt LED bulbs (equivalent to 40-60 watt incandescent)
- Position lights above feeding and roosting areas
- Keep bulbs at least 4 feet (1.2 meters) away from flammable materials
- Install lights at sufficient height to prevent pecking
Timing Considerations
- Maintain a consistent 14-16 hour light period
- Use timers for automatic operation
- Add light in morning hours rather than evening
- Implement gradual changes when starting or stopping supplemental lighting
Safety Measures
- Install moisture-resistant fixtures and outlets
- Secure all wiring in conduit to prevent pecking damage
- Regular check connections and fixtures for wear
- Keep spare bulbs on hand to maintain consistent lighting
Alternative Approaches
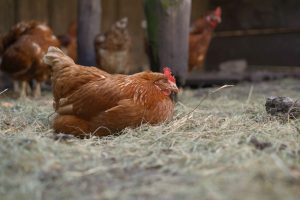
Instead of artificial lighting, some chicken keepers prefer to simply accept the seasonal changes. Working with natural cycles means accepting reduced egg production in winter months, which often leads to particularly robust laying during spring and summer.
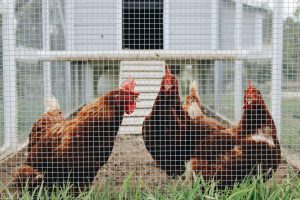
Placing the chicken coop (and its windows) strategically can help maximize available daylight hours: south-facing windows and light-colored interior surfaces help reflect natural light effectively.
It’s also good to know that some chicken breeds naturally maintain better egg production during winter. Breeds like Plymouth Rocks, Australorps, and Wyandottes often continue laying through shorter days.
Making Your Decision
The choice to add artificial lighting depends on several factors:
- Your goals for egg production
- Local climate and natural light patterns
- Cost of installing the system + ongoing energy costs
- Overall chicken-keeping philosophy
There’s no universal right answer – the best choice depends on your specific situation and priorities. Whether choosing artificial lighting or embracing natural cycles, focus on maintaining consistent care routines and monitoring your flock’s health and behavior.

0 Comments
Trackbacks/Pingbacks